

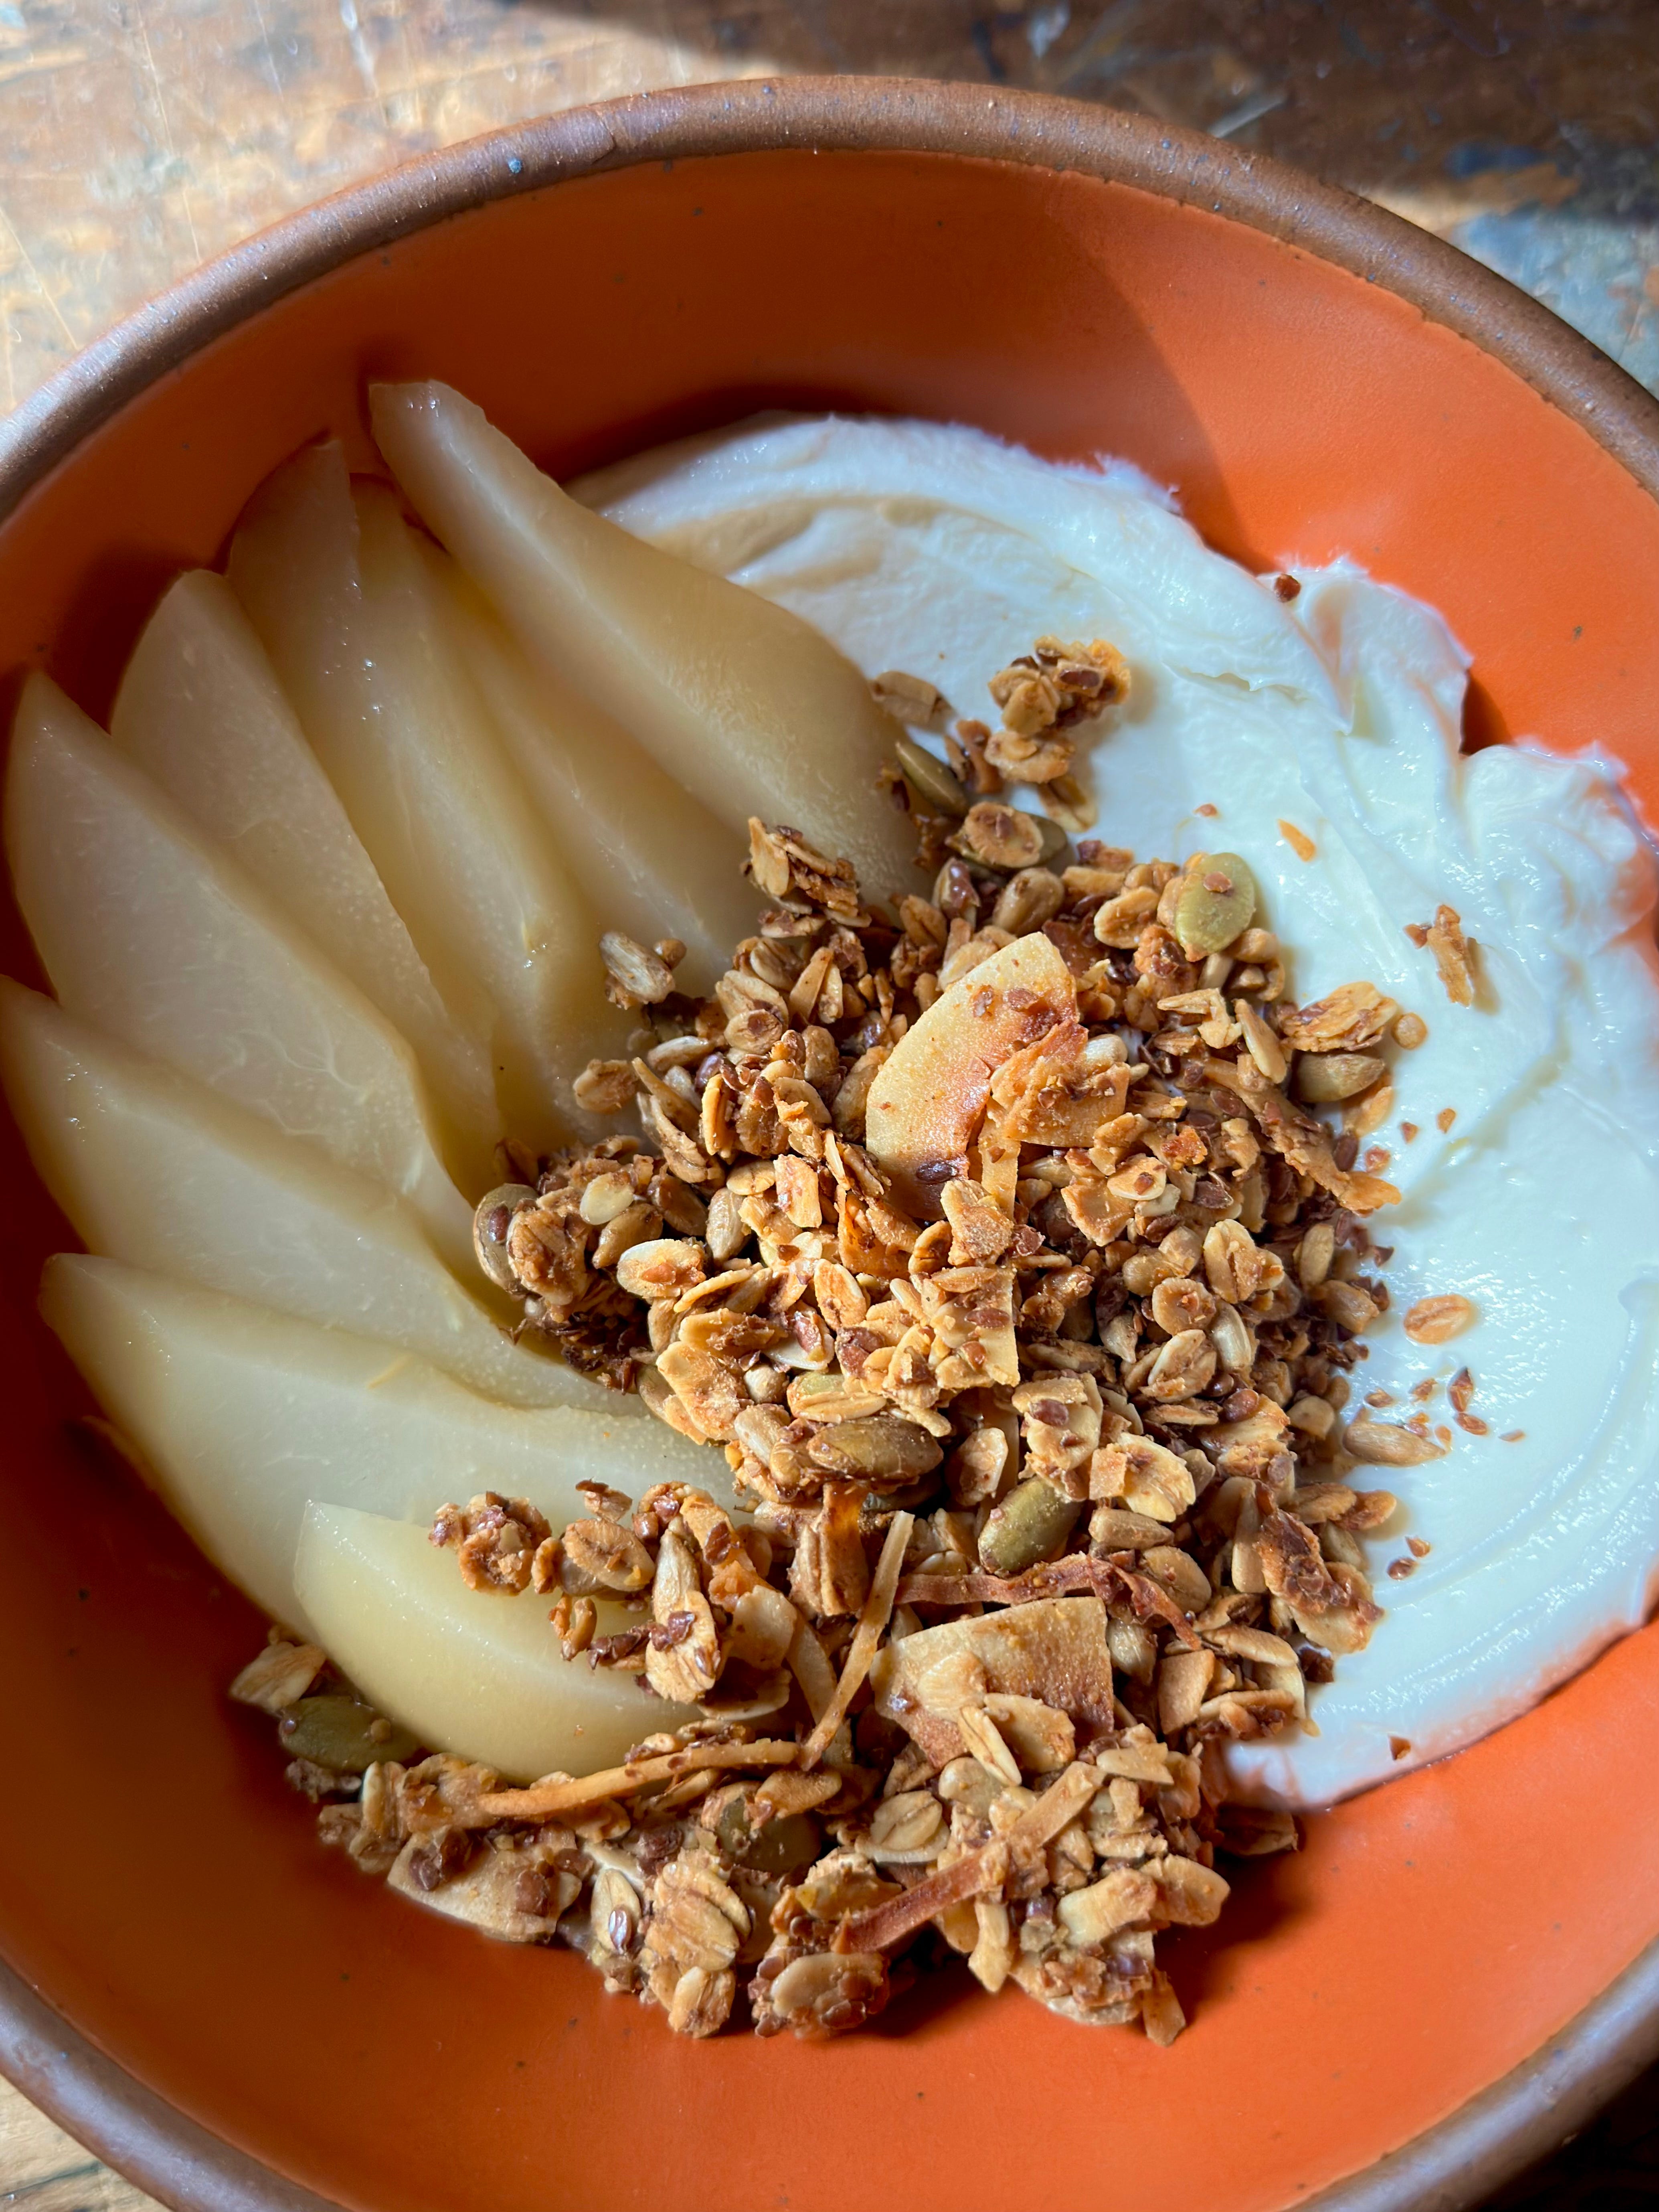
Root Beer Poached Pears and A Simple Flax & Coconut Granola
The gentle simmer of fall produce.

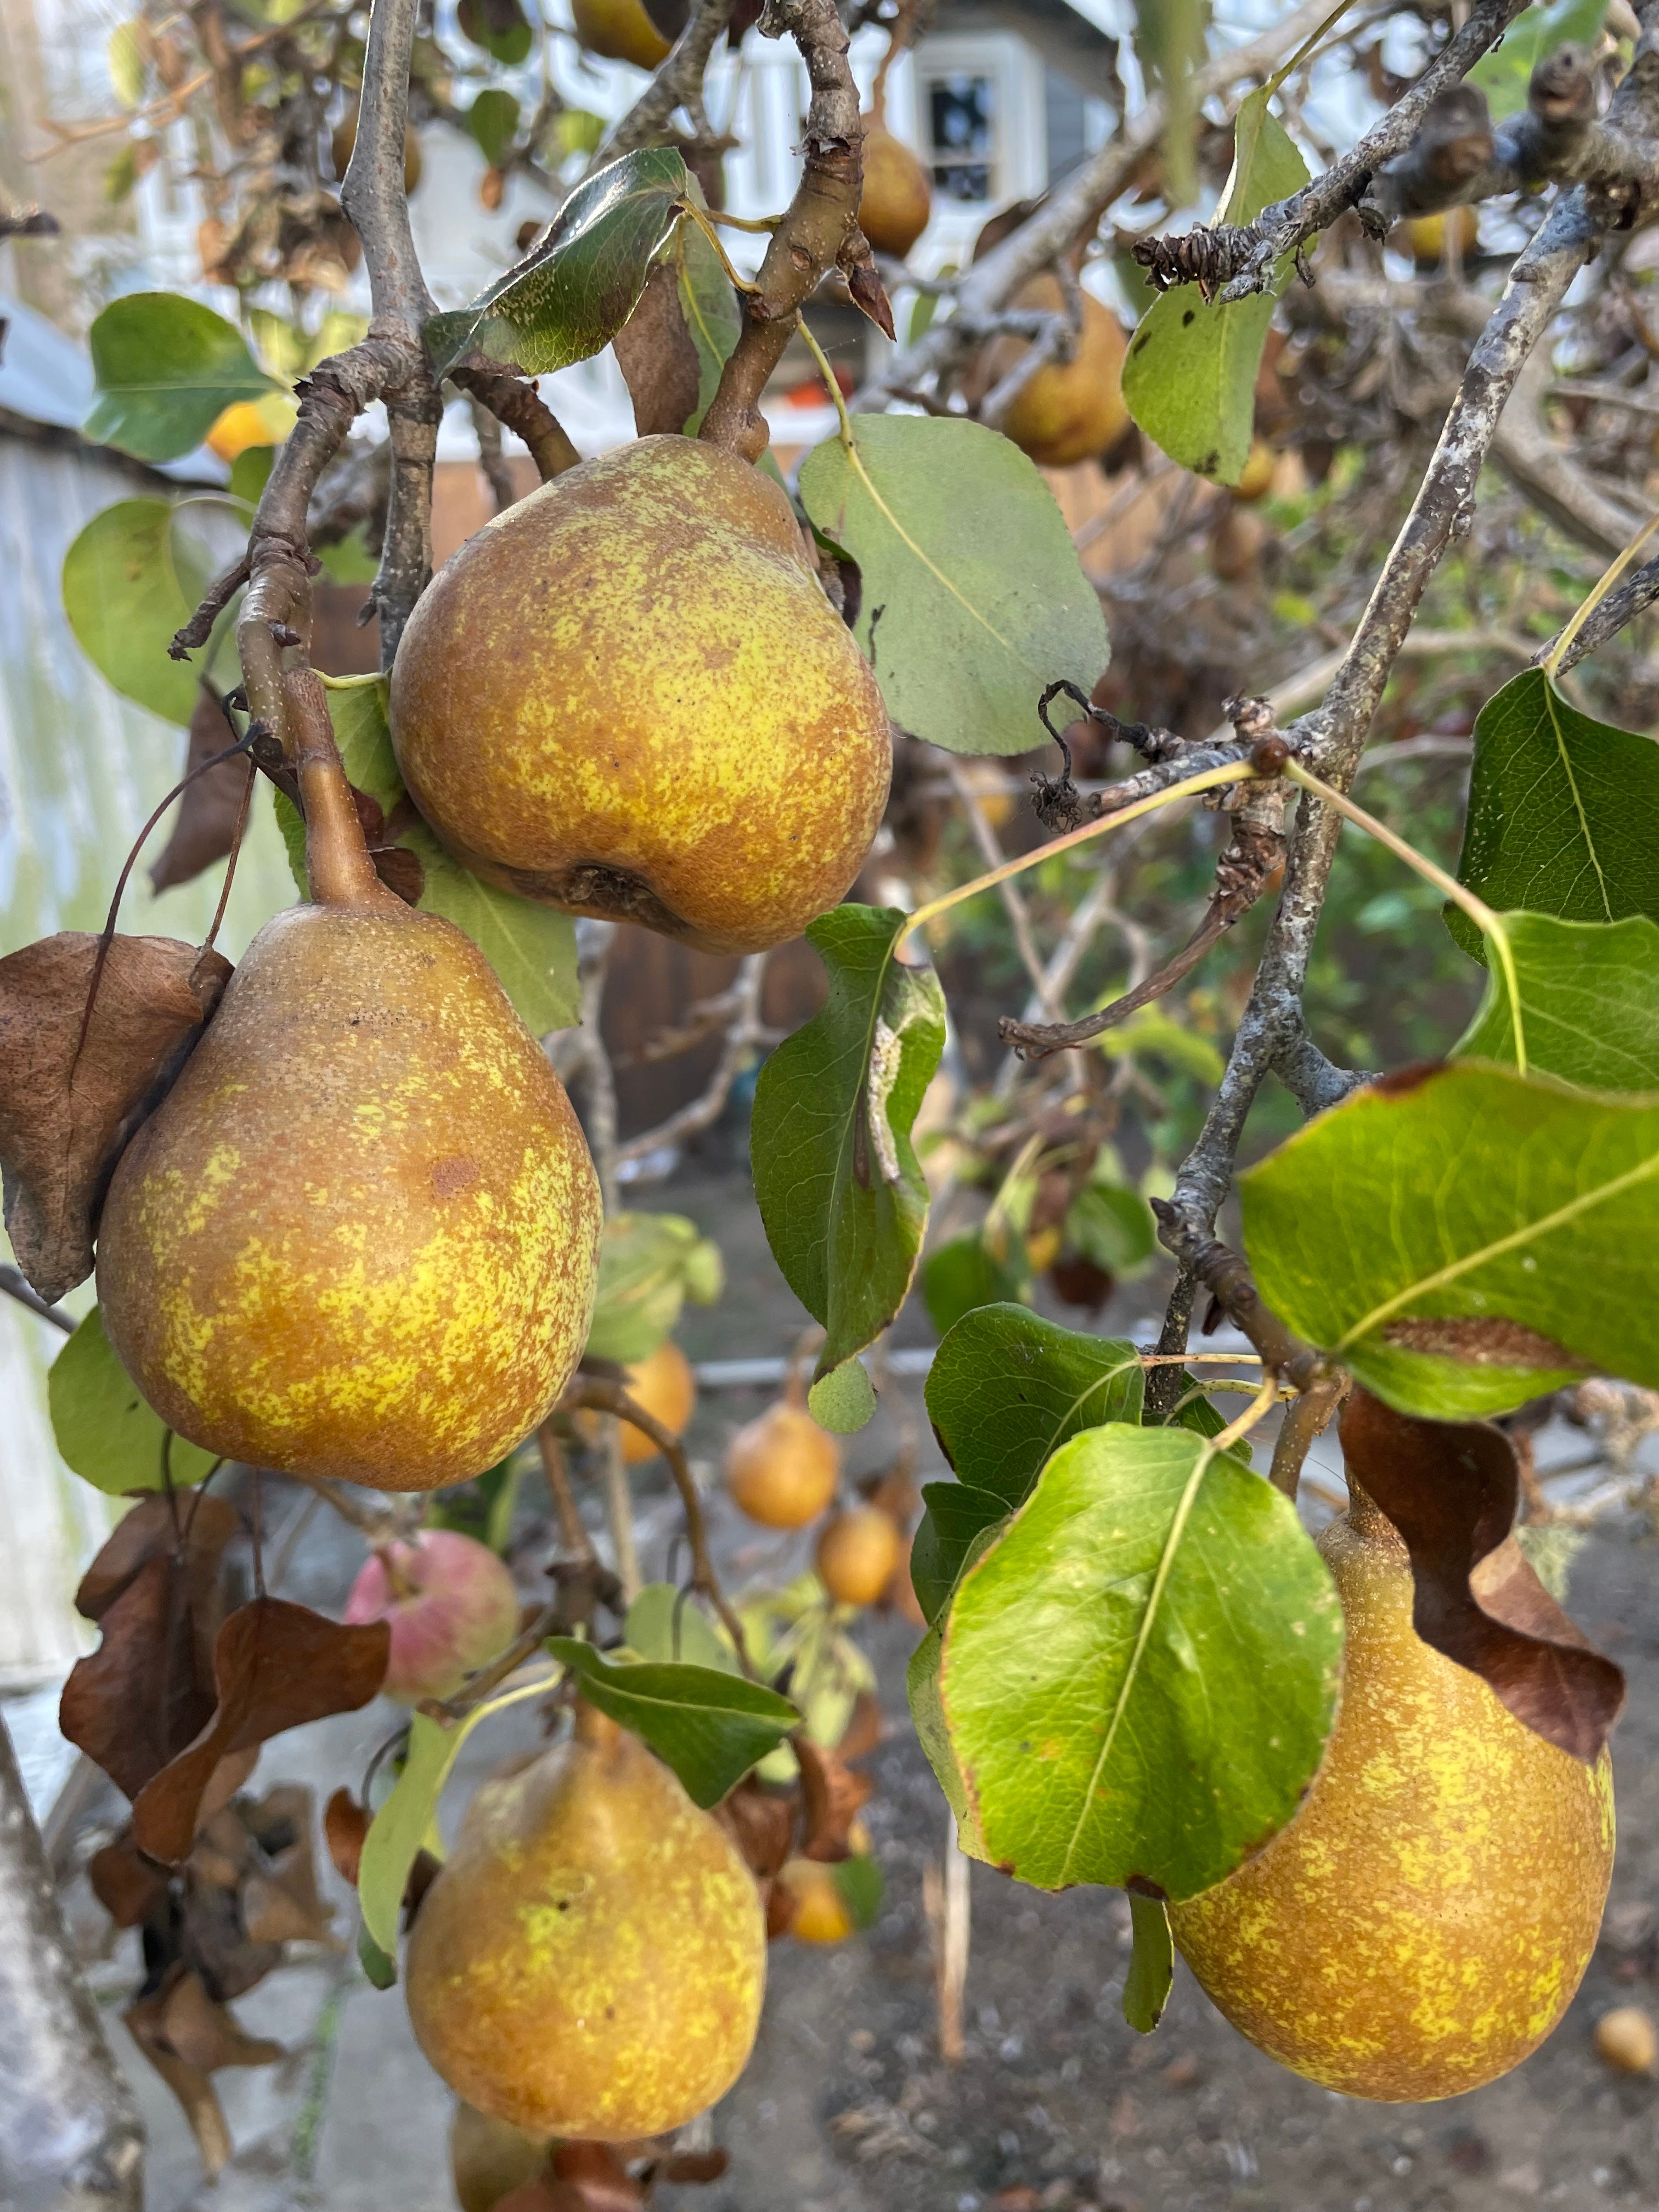
Today’s recipe is a super simple but useful way to enhance and preserve one of my favorite things about this time of year, pears. Pears often take the backseat to apples and pumpkins which are the chosen children of fall but I think pears deserve their own moment to shine.
Pears, like apples, are a climacteric fruit. This means they continue to ripen after being picked from their trees. In the US, pears are harvested and quickly moved into cold storage where they will await transportation to markets across the country. The cold temperate slows the ripening process by reducing the amount of ethylene that the pears produce through respiration. (yes, fruit breathes!)
Depending on the type of pear, cold storage can last anywhere from 14 days to 8 months. Once the fruits arrive in your local grocery store, the pears resume the production of ethylene and begin to ripen. An interesting thing about ethylene production is that it works on a feedback loop. The presence of ethylene triggers the production of more ethylene. This is why you might have heard the advice to place unripe fruit together in a closed paper bag to encourage ripening.
All of this being said, if you’ve never had an amazing pear experience, it’s possible that you haven’t had a pear that was *actually* ripe. A good rule of thumb when shopping for pears is to use your senses.
Feel - When you gently squeeze the fruit, is there a little bit of give? Especially if near the “neck” or stem end of the pear this slight tenderness is a sign of ripeness. This doesn’t apply to all pears though! Asian pears will still feel firm when ripe and usually have a more crisp, snappy bite.
Smell - Some pears can be really fragrant. If the pear is at room temperature, smell the bottom of the fruit. A ripe pear will smell sweet, floral, and honey-like.
See - As some pears ripen they turn from green to a more bronze/khaki color. They also take on small dark spots that freckle their surface. These spots are called lenticels and it’s through these pores that pears take in oxygen and expel carbon dioxide and ethylene. As pears age, these pathways darken.
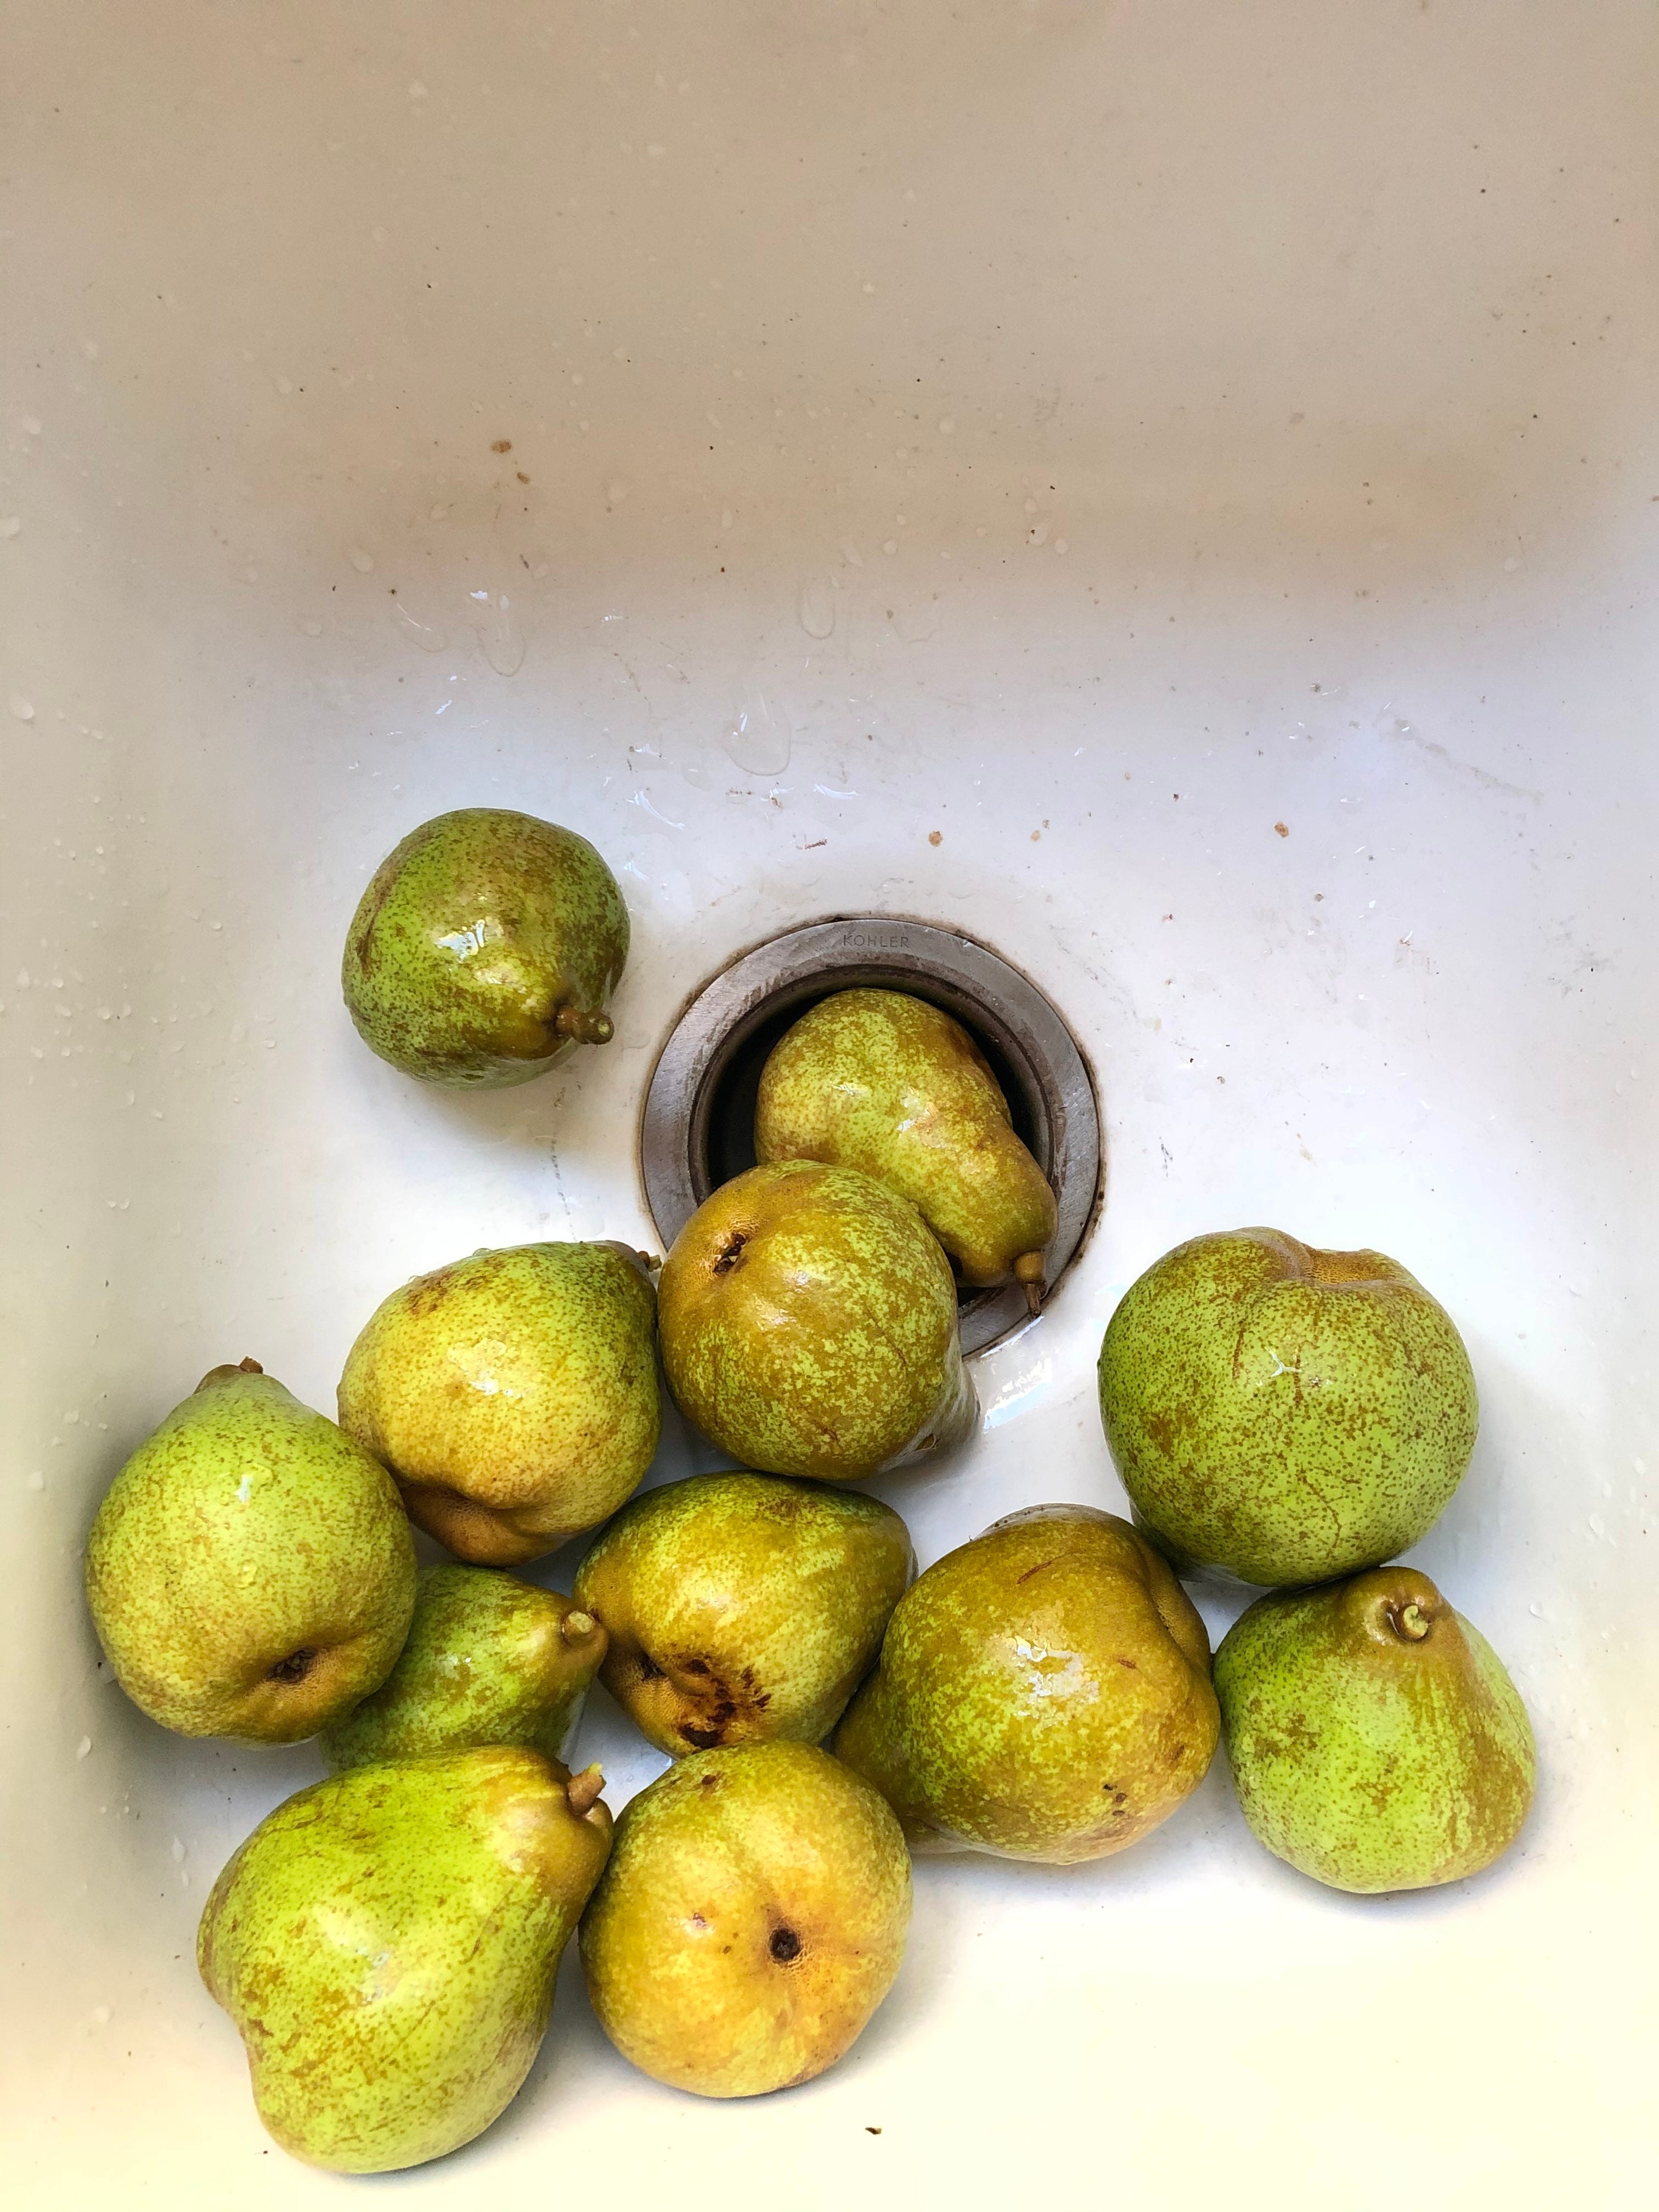
If you bring home pears that are still a little dense and green, fear not. With patience, pears can ripen at home at room temperature. I like to store mine in a basket or bowl with other fruits like apples and bananas. I check on them daily, rotating occasionally to avoid any super mushy spots from developing and to make sure they aren’t being crushed as they soften. Once ripe, the best and simplest way to enjoy them is sliced with a thin drizzle of honey and flaky salt or even easier, eaten straight from the hand.
For today’s recipe…
Poaching fruit has been practiced since medieval times. To define it simply, poaching is gently simmering overripe, underripe, or lackluster fruit in a sweetened or spiced liquid. Historically wine has been the liquid of choice. Wine poached pears being a French classic. Ginger, cinnamon, cloves, and dried herbs are sometimes used to flavor the poaching liquid and compliment the wine. Here I swap in root beer to change things up and lean more into the spicy flavors of fall. The poaching liquid is slightly less sweet than other recipes to account for the root beer’s sugar but feel free to make adjustments for your own tastes.
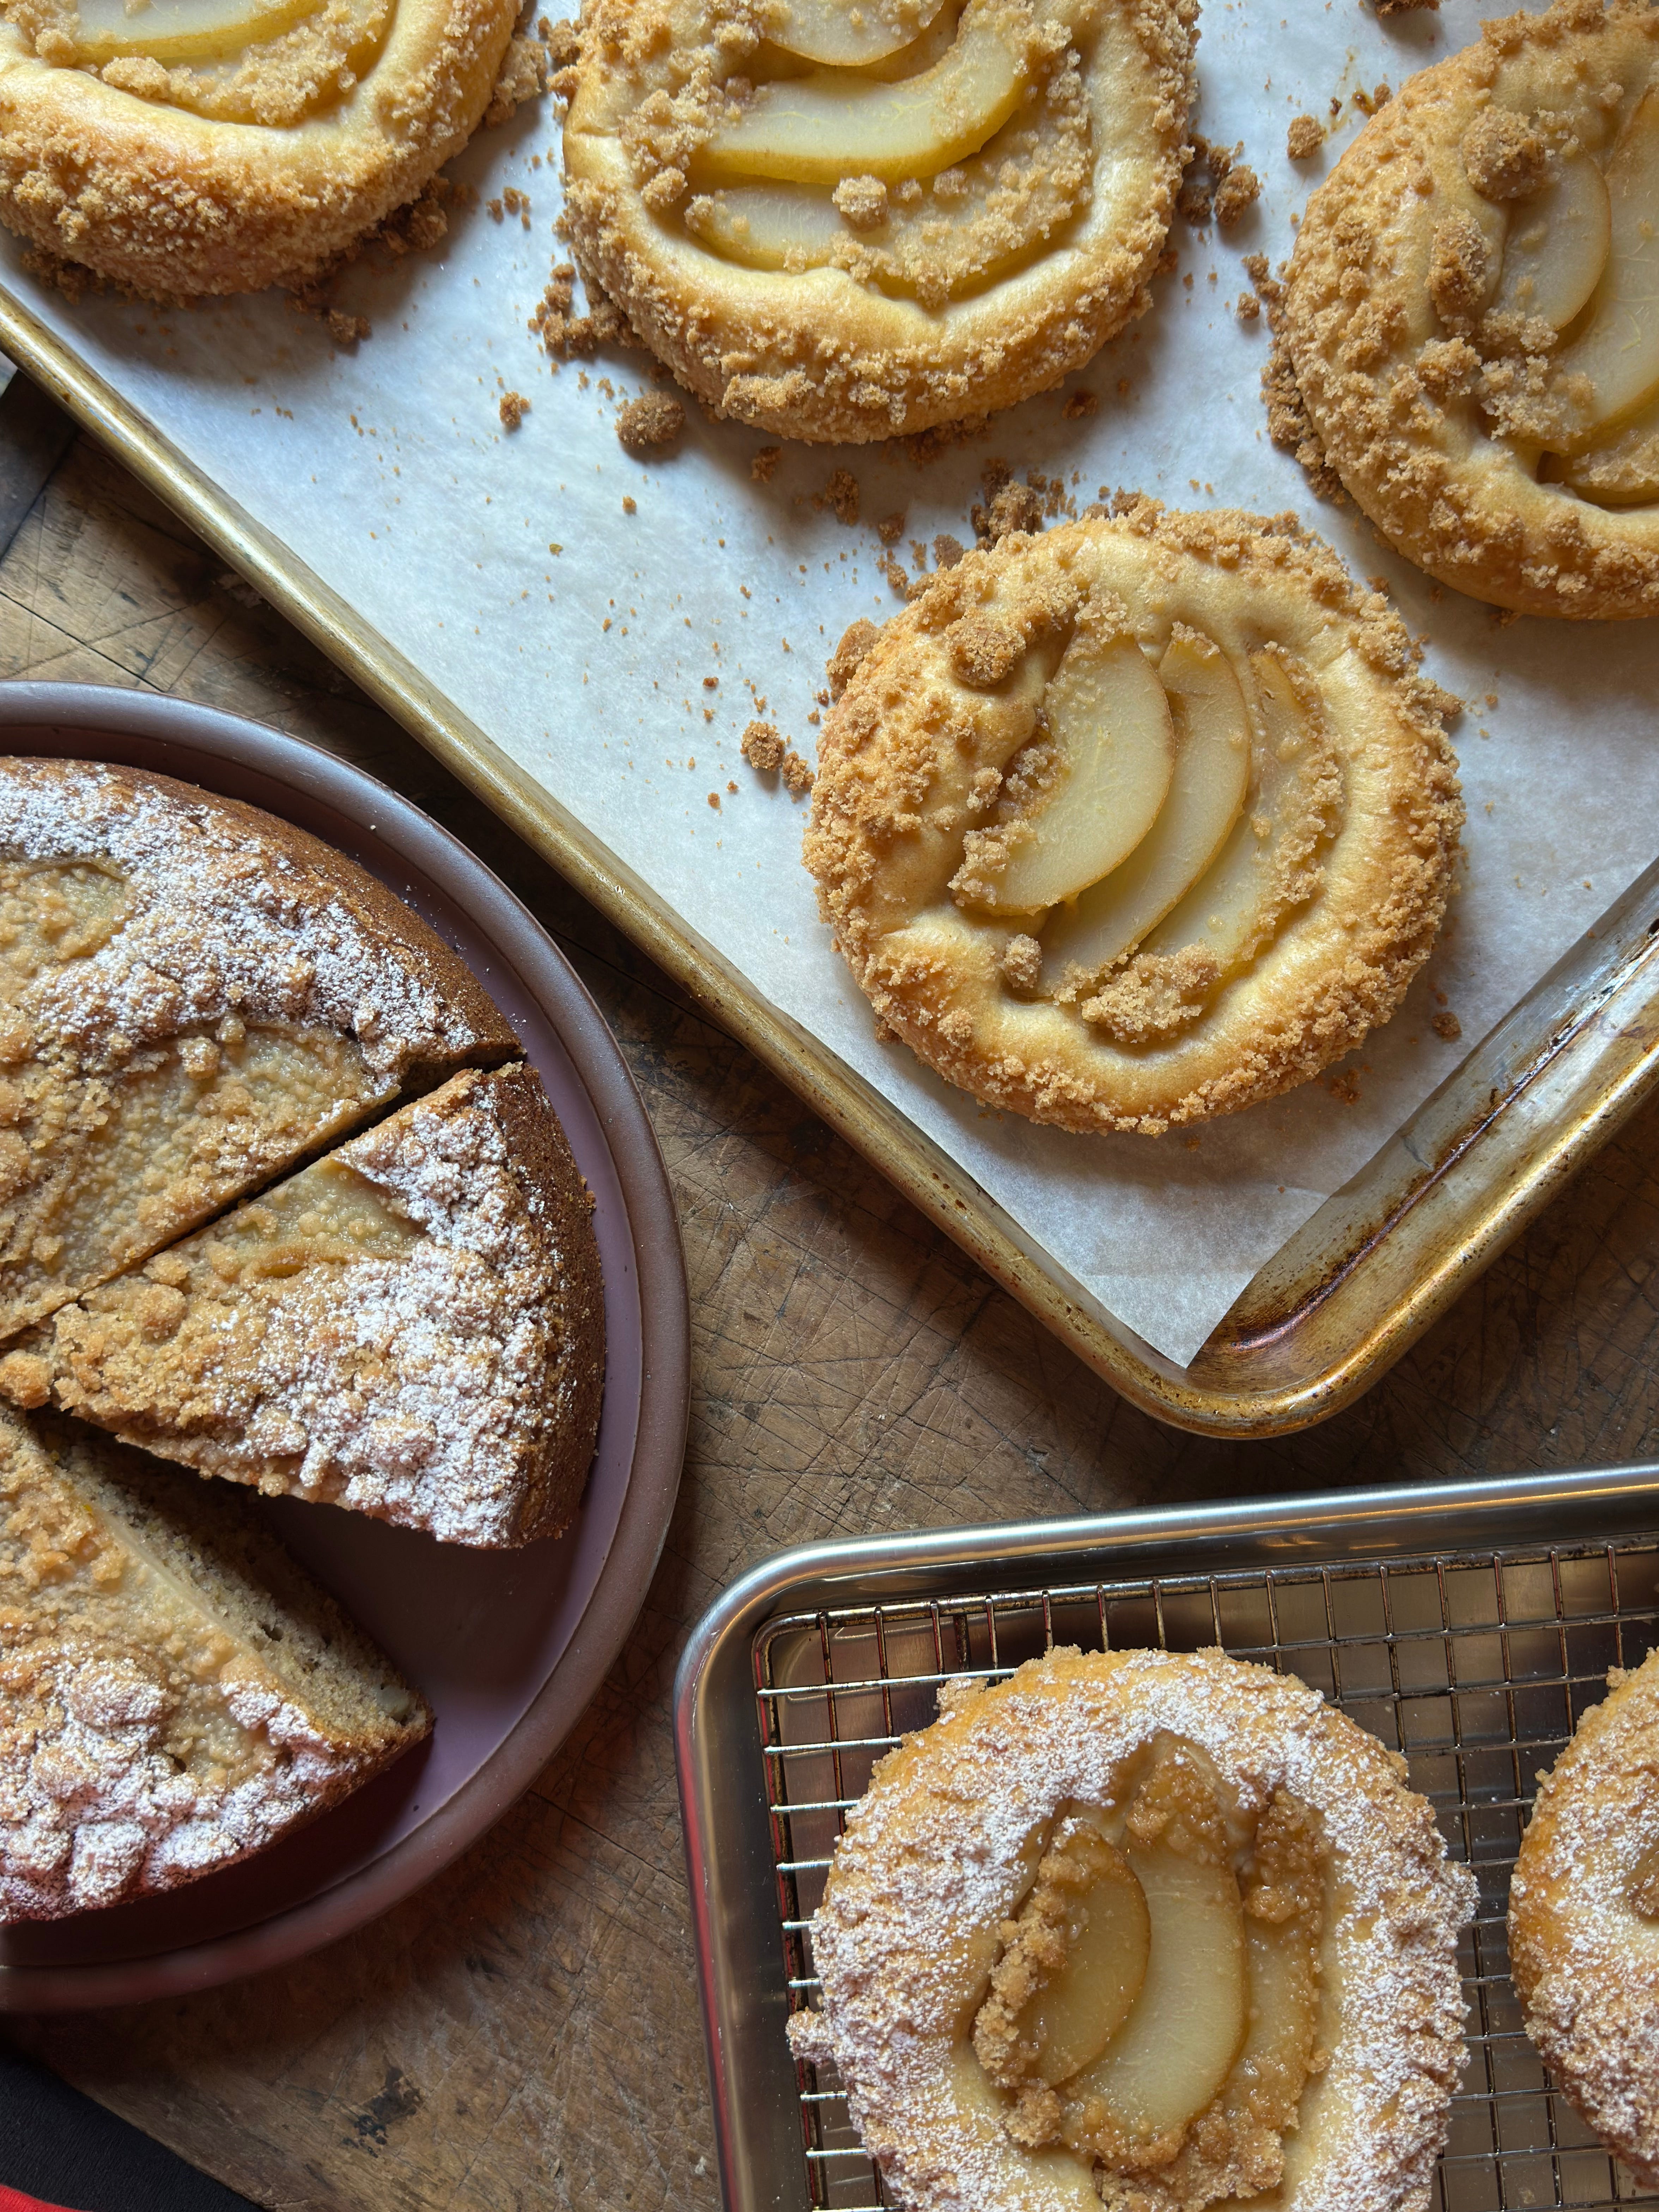
For the next few weeks, I’m going to share a few recipes that will show you how useful poached pears can be! Stay tuned! Here’s a little sneak peek:
A few notes…
Any firm pear will work for poaching. If you squeeze a pear and it gives easily to pressure it’s likely to fall apart while being poached. Reach for a fruit that’s firm but bite-able. It will soften as it simmers till it’s delightfully tender but still crisp.
Feel free to play around with what you add to the poaching liquid. Star anise, orange peels, and black peppercorns are all great options that will compliment the root beer.
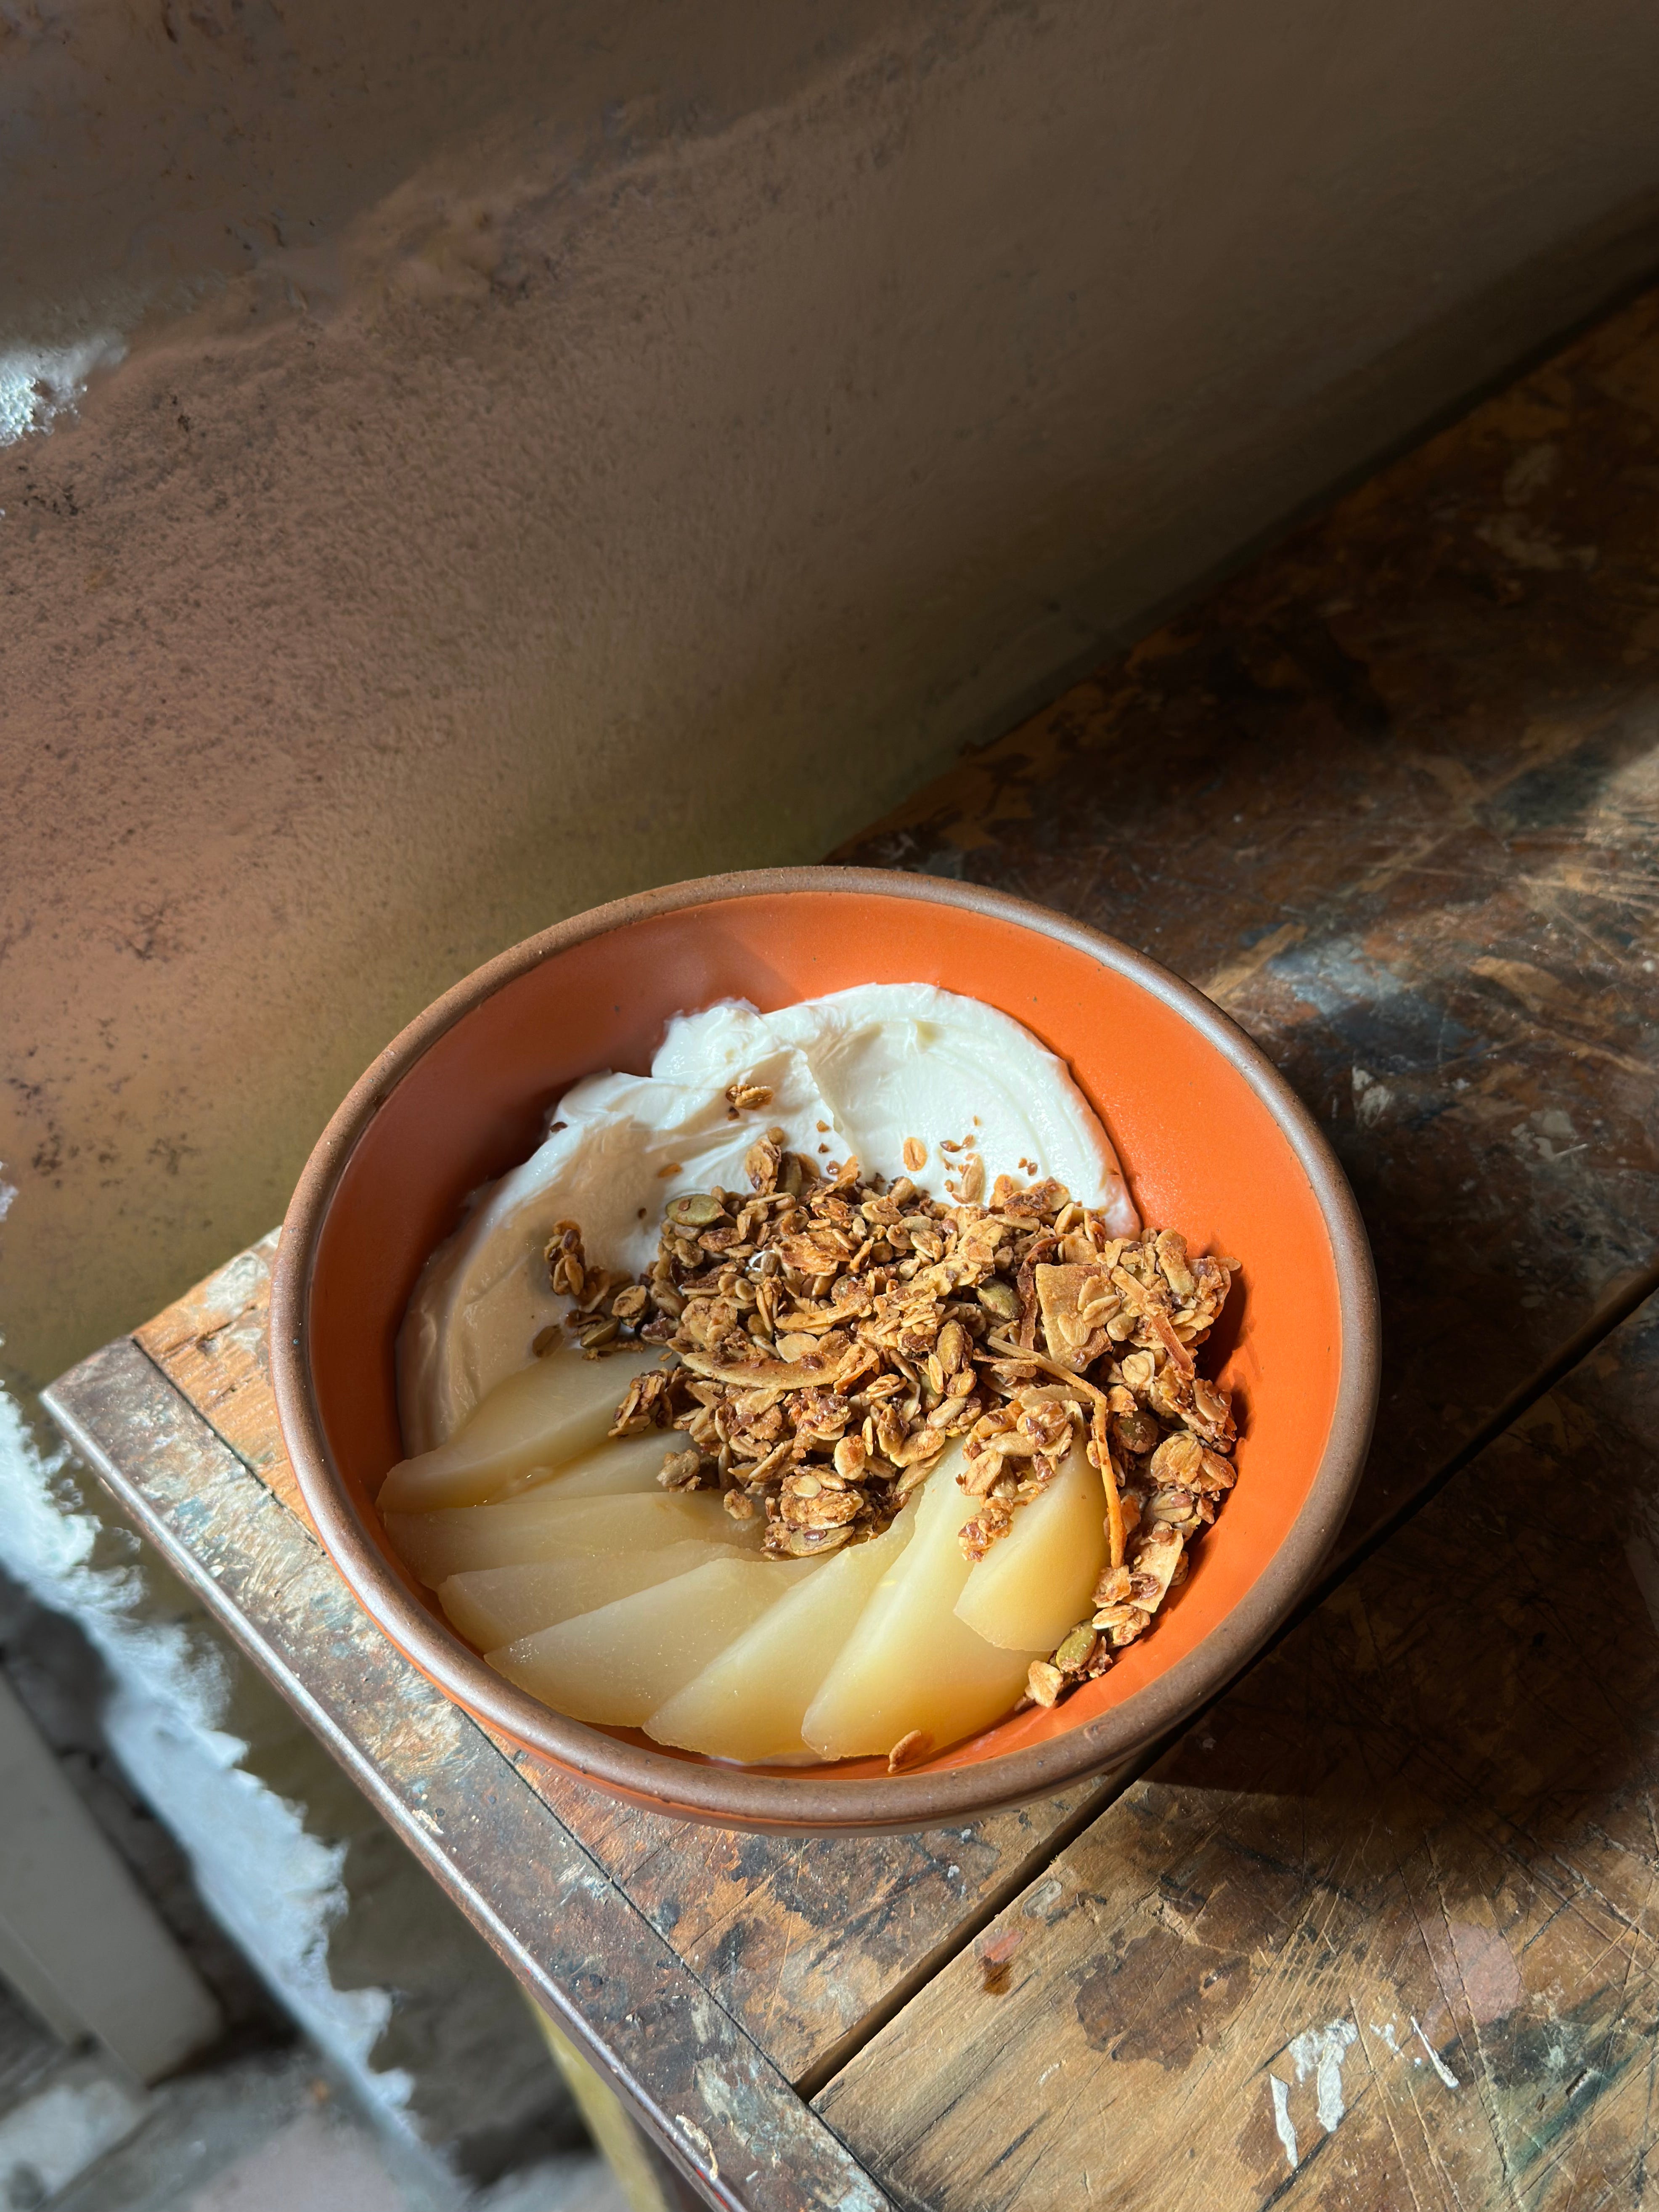
The granola recipe is a riff off the Granola Bark recipe from Tartine. I made it vegan and nut free using sunflower seeds and one of my favorite ingredients, flax seeds. Flaxseeds (also called linseeds) have a water soluble fiber called mucilage that creates a glue-like effect when wet. It helps the granola clump without the inclusion of egg whites.
The oat milk helps to hydrate the flaxseeds and oats but can be swapped for cow’s milk, water, or even something more exciting like tea or coffee!
Root Beer Poached Pears
4-8 firm pears
12 oz. (1 1/2 cups) water
36 oz. (4 1/2 cups) root beer, about three glass bottles
150g brown sugar
3-4 dried cinnamon sticks
2 inch piece fresh ginger, sliced into 1/4 inch coins
Peel the pears and divide each one in half lengthwise. Use a small paring knife, a melon baller, or a metal teaspoon measuring spoon to core the pears. Be sure to remove the dense woody stem that runs just below the surface from the core to the pointed end of each pear half.
Take a large piece of parchment and cut it into a circle that’s slightly larger than the diameter of the pot. You want about 1 inch of extra parchment all the way around. In the very center of the parchment, cut a small hole about 1 inch in diameter for steam ventilation. (This is called a cartouche.) Set aside while you prepare the poaching liquid.
In a large pot or dutch oven over medium high heat, combine the water, root beer, sugar, cinnamon, and ginger. Stir to dissolve the sugar. Once the sugar has disappeared, lower in the pears and place the parchment circle onto the surface of the water. Bring the pot to a gentle simmer and allow the pears to poach for 20 to 30 minutes. Check that the parchment remains touching the surface without large air pockets forming beneath. The pears are done when they are tender, slightly translucent around the edges and glossy. Test with a fork, which should be met without resistance.
Allow the pears to cool to room temperature and then move them and their poaching liquid into the fridge where they can be stored for up to a week. Don’t toss your poaching liquid! It’s great in a cocktail, coffee, or in a future recipe you may see right here. 👀
Flaxseed and Coconut Granola
175g rolled oats
70g coconut flakes
70g flax seeds, ground in a coffee grinder or high speed blender
110g sunflower seeds, pumpkin seeds, sesame seeds, or a mix of the three
50g brown sugar
40g agave or maple syrup
3 tablespoons oat milk
30g coconut oil
1 teaspoon vanilla extract
1 teaspoon ground cinnamon
1/2 teaspoon kosher salt
Preheat the oven to 300F with a rack in the upper middle position. Line a sheet tray with parchment paper. Set aside. In a medium sized bowl combine the oats, coconut, flax seeds, and sunflower seeds.
In a small saucepan combine the brown sugar, agave, oat milk, coconut oil, vanilla, cinnamon, and salt. Whisk over low heat until the sugar has dissolved and the coconut oil has melted.
Pour the heated mixture into the bowl of oats and seeds. Stir using a rubber spatula to ensure that all of the dry ingredients get coated in the liquid. Spread the granola out onto the prepared tray in a smooth layer about 1/2 inch thick.
Bake in the preheated oven for 30 to 45 minutes. Stirring and flipping the granola after the first 15 minutes and every 5 or so minutes after that. When stirring, it’s helpful to bring the granola on the outer edge to the center while pushing the less toasted granola in the middle out to the edges to get nice and crispy. Allow the granola to cool completely on the tray then transfer to a sealed container. Granola can keep for several weeks at room temperature if kept dry.


