

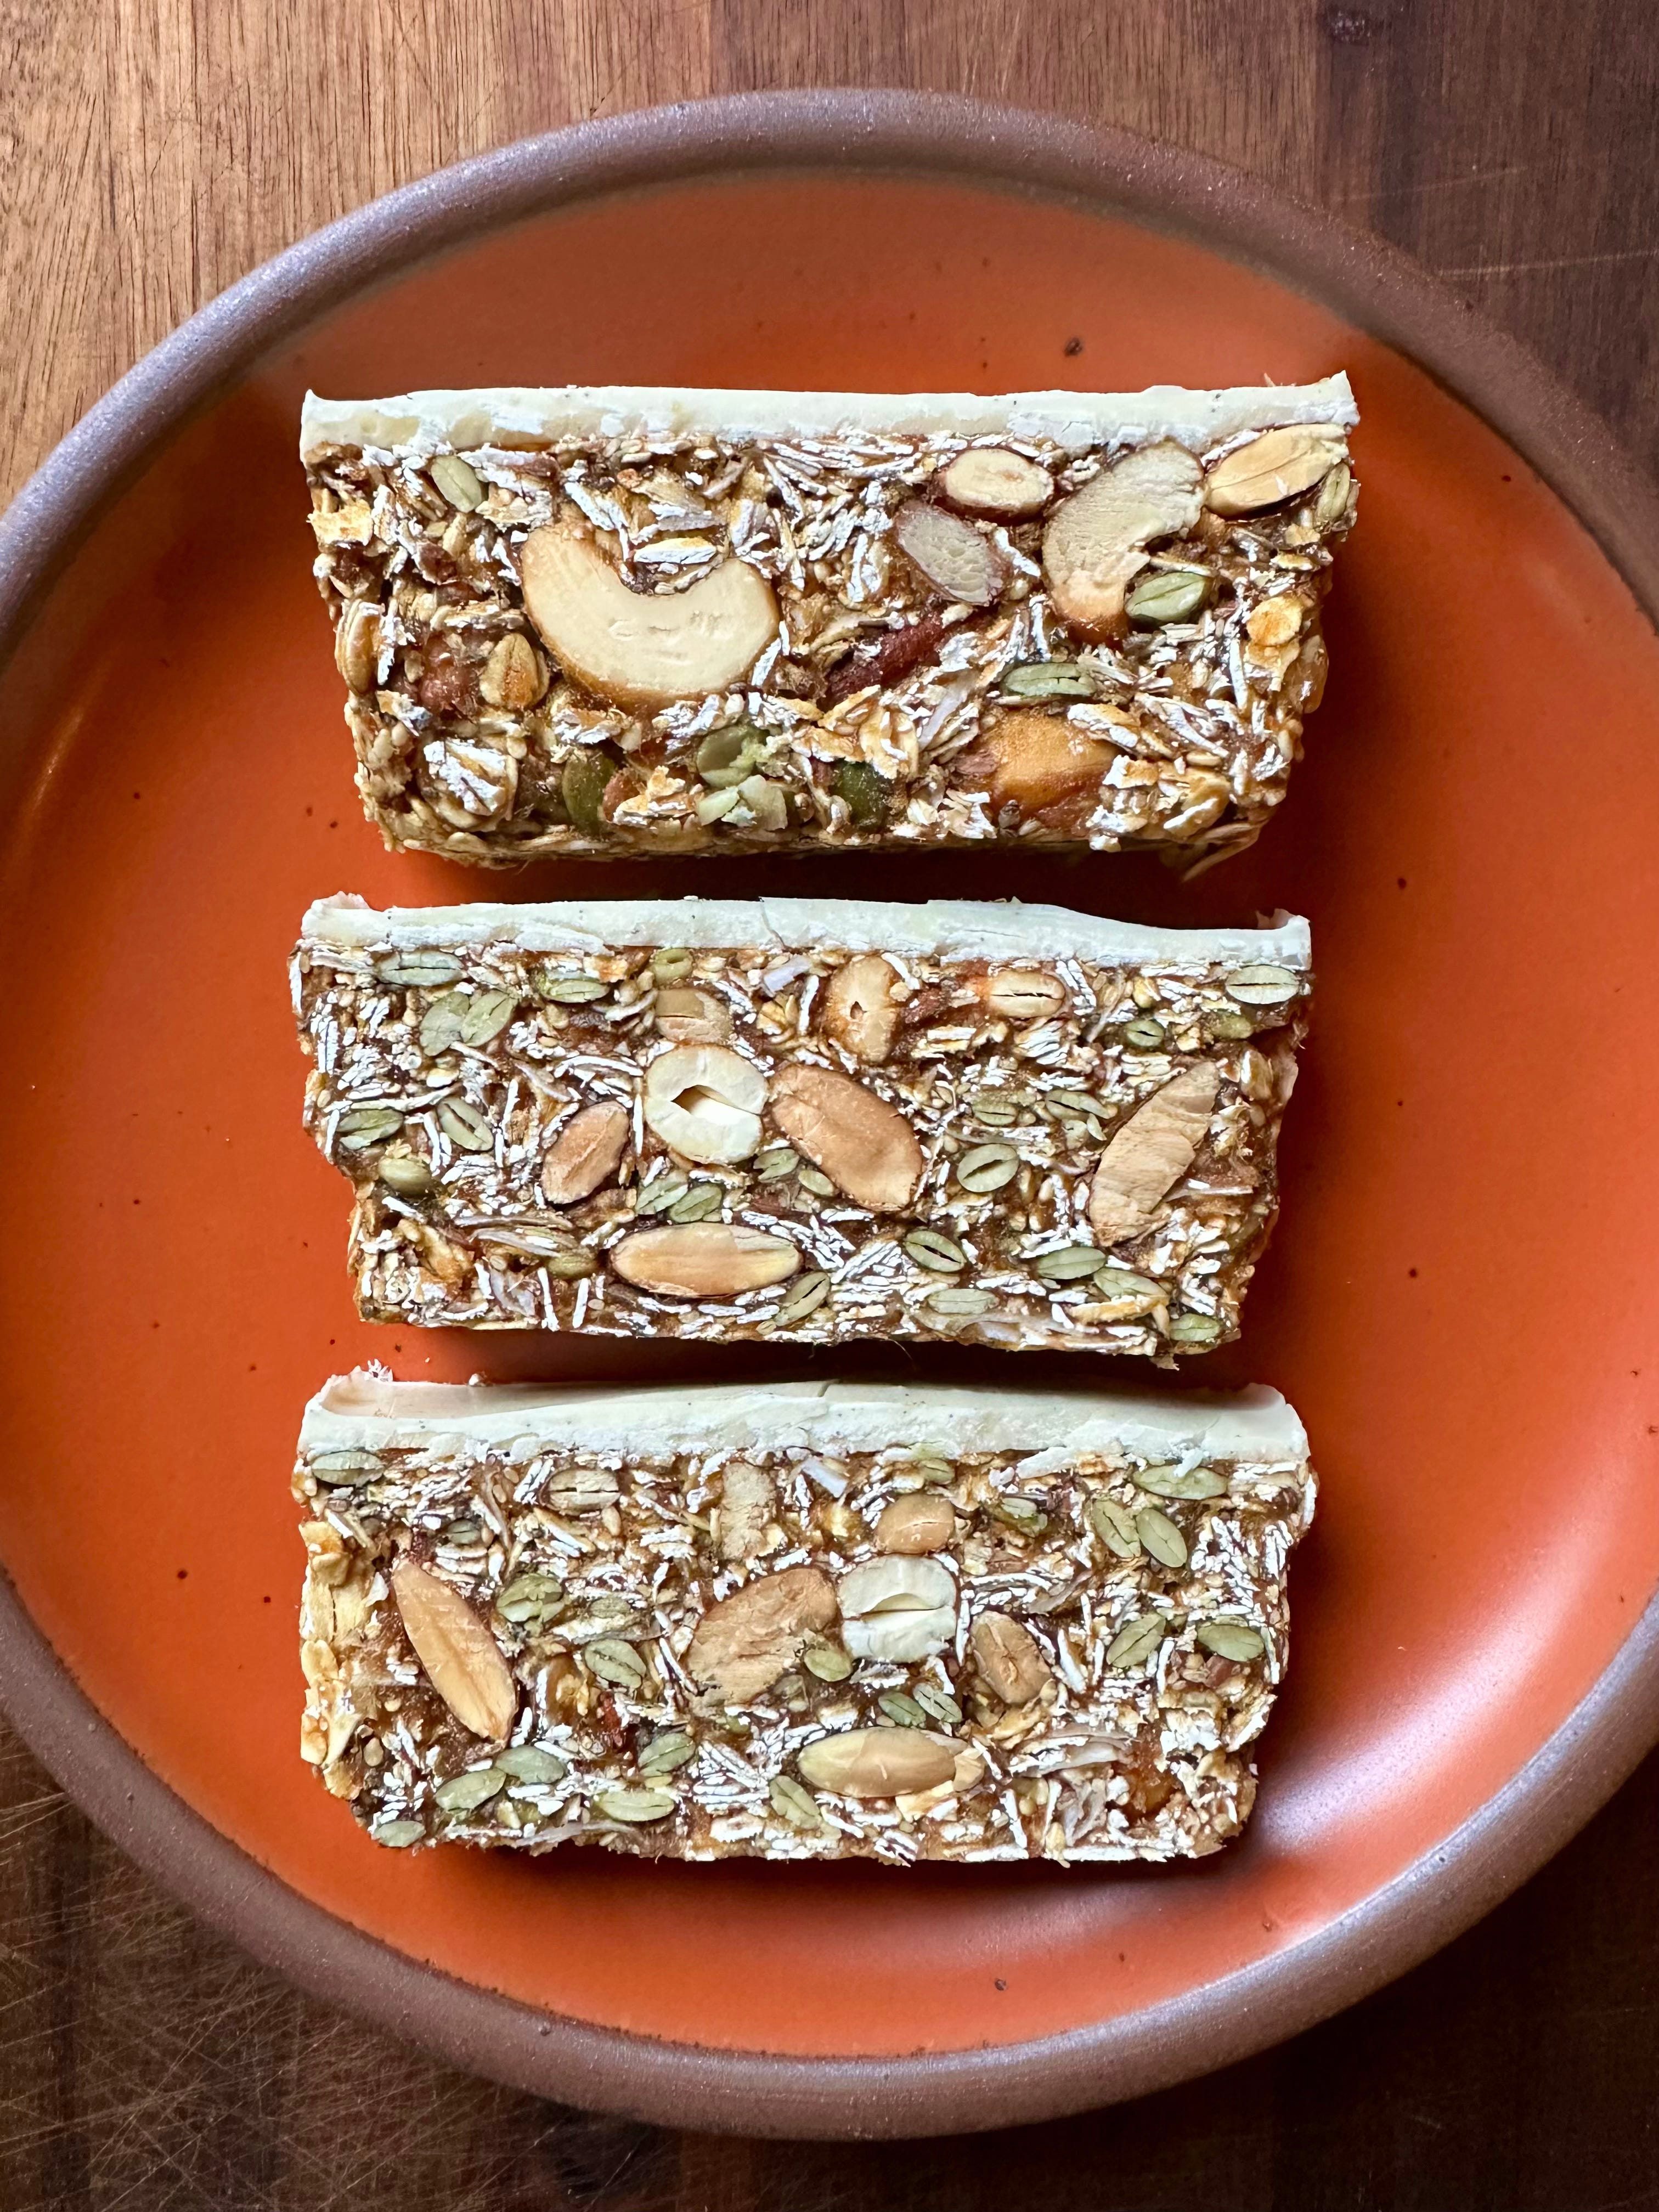
Nutty Espresso Date Bar with Salted White Chocolate
A toasty nut and date bar with a perk of espresso and white chocolate.

Hey ya’ll!
Today I’m bringing you an adapted recipe inspired by the Nutty Date Bar i’ve been making at work for the last two Januaries. I’ve made some swaps and additions to make it a little easier for the home baker. Even though this recipe isn’t actually “baked” - it’s toasted. More about that in a minute…
When people find out i’m a baker, I almost always get asked what my favorite thing to bake is (hello to all my matches from Hinge 👋) It’s always been a difficult question to answer. My response has changed as i’ve moved through different phases of life. The likely reply has run the gamut from the enthusiastic and cali-influenced “I love to bake anything that’s seasonal and local!” to the more jaded and weary eyed “whatever i’m getting paid to bake” often said at the end of a particularly difficult day or week.
I still lean heavily into my seasonal approach to baking, but my answer has become more all-encompassing. I bake what I feel inspired to create, seeking to make things that I haven’t seen exist before. I bake what nurtures, educates, and excites my community (real world and virtual). I also see my baking practice as an ever growing muscle. One that I wish to be compensated for flexing.
For the original nutty date bar, I was tasked with making a treat that would satisfy customers looking for something without animal products, gluten, or refined sugar. January is typically the month where people are more introspective about their habits and might be seeking other ways of nurturing themselves. While this task might make some bakers recoil, I like a challenge and I also respect when people want to buck tradition. Baking this way also created the chance for an even larger audience to appreciate my work. I choose not to see these requests as limitations but more like invitations to let more people in.
What happens when you toast nuts?
You probably already know that toasted nuts have greater flavor and aroma than their raw counterparts but what’s actually going on during the toasting process?
Loss of moisture. Even dry nuts sealed in their package from the store contain a certain percentage of water. On average, dried nuts contain 5-8% water after processing. This is down from the 20-50% of water found in freshly harvested nuts. When you apply heat, you drive this percentage down even further and with that you create a nut with a crisp snap and a more concentrated flavor.
Maillard Reaction. Named after a French chemist, the Maillard reaction describes the chemical reaction that occurs between sugars and amino acids (proteins) when heated. Often times used to describe the browning and pleasant aromas/flavors produced when cooking meat, such as searing a steak - the reaction is what gives nuts their “toasty” flavor. Oftentimes confused with caramelization, which only involves the heating and transformation of sugars
Today’s Recipe is the perfect tagalong for a day of hiking - whether you find yourself trekking along a beautifully scenic trail somewhere or through the bustling and currently very grey slushied streets of frigid New York. It’s easy to slice and squirrel away for a quick treat and they’ll last for a really long time if wrapped tightly and kept cool.
I love chewy granola bars and I love that this recipe packs in the protein, fiber, and carbs without costing quite as much per serving as the bars I see in stores. I love when i’m able to make something at home with ingredients I know and love rather than being solely dependent on what’s made and packaged commercially. Often times, I’ll enjoy a thick slice of this after I get back from a run or a workout. These also make a great breakfast on the go!
A few notes…
The nuts and seeds can be swapped to match your tastes and what you have available. However, the ratio of nuts to seeds is helpful to create the ideal texture (the seeds fill the empty space around the larger nuts) but feel free to play around. Go all almond! Or cashew! Pistachio coupled with black sesame is also a favorite.
The coconut oil helps the bars to firm up after chilling. If you don’t have or don’t like coconut oil, melted and cooled butter can be substituted but the bars won’t last as long. If made with butter, I would finish the bars within a week.
The original bars had tahini for extra richness and to hold the mixture of nuts and seeds together. I chose peanut butter here because it’s more readily available but if you love tahini, feel free to make the swap with an equal amount.
I love shredded coconut and I think it provides a pleasant chewiness here. If you’re not a fan, feel free to swap with more toasted oats!
The white chocolate is bordering on gilding the lilly. I love the sweetness it provides and how it contrasts with the toasted nuts below. If you’re not a fan, feel free to swap for something like dark chocolate which I think would be really nice. You could also add a sprinkling of toasted seeds to the top of the still warm chocolate as well.
A final note on toasting - Just like people, all ovens are different. I toast things low and slow in my oven (300F) so I can relax a bit and avoid disaster if I accidentally look away for a few minutes. A lower temperature also helps to toast the nuts completely through, rather than just the outer surface we see. To test this, carefully grab a hot nut from the tray and break it in half to see if the inside is toasted or still raw. Add more time as needed. You know your oven best! Feel free to adhere to my recommended times or carve your own toasty path!
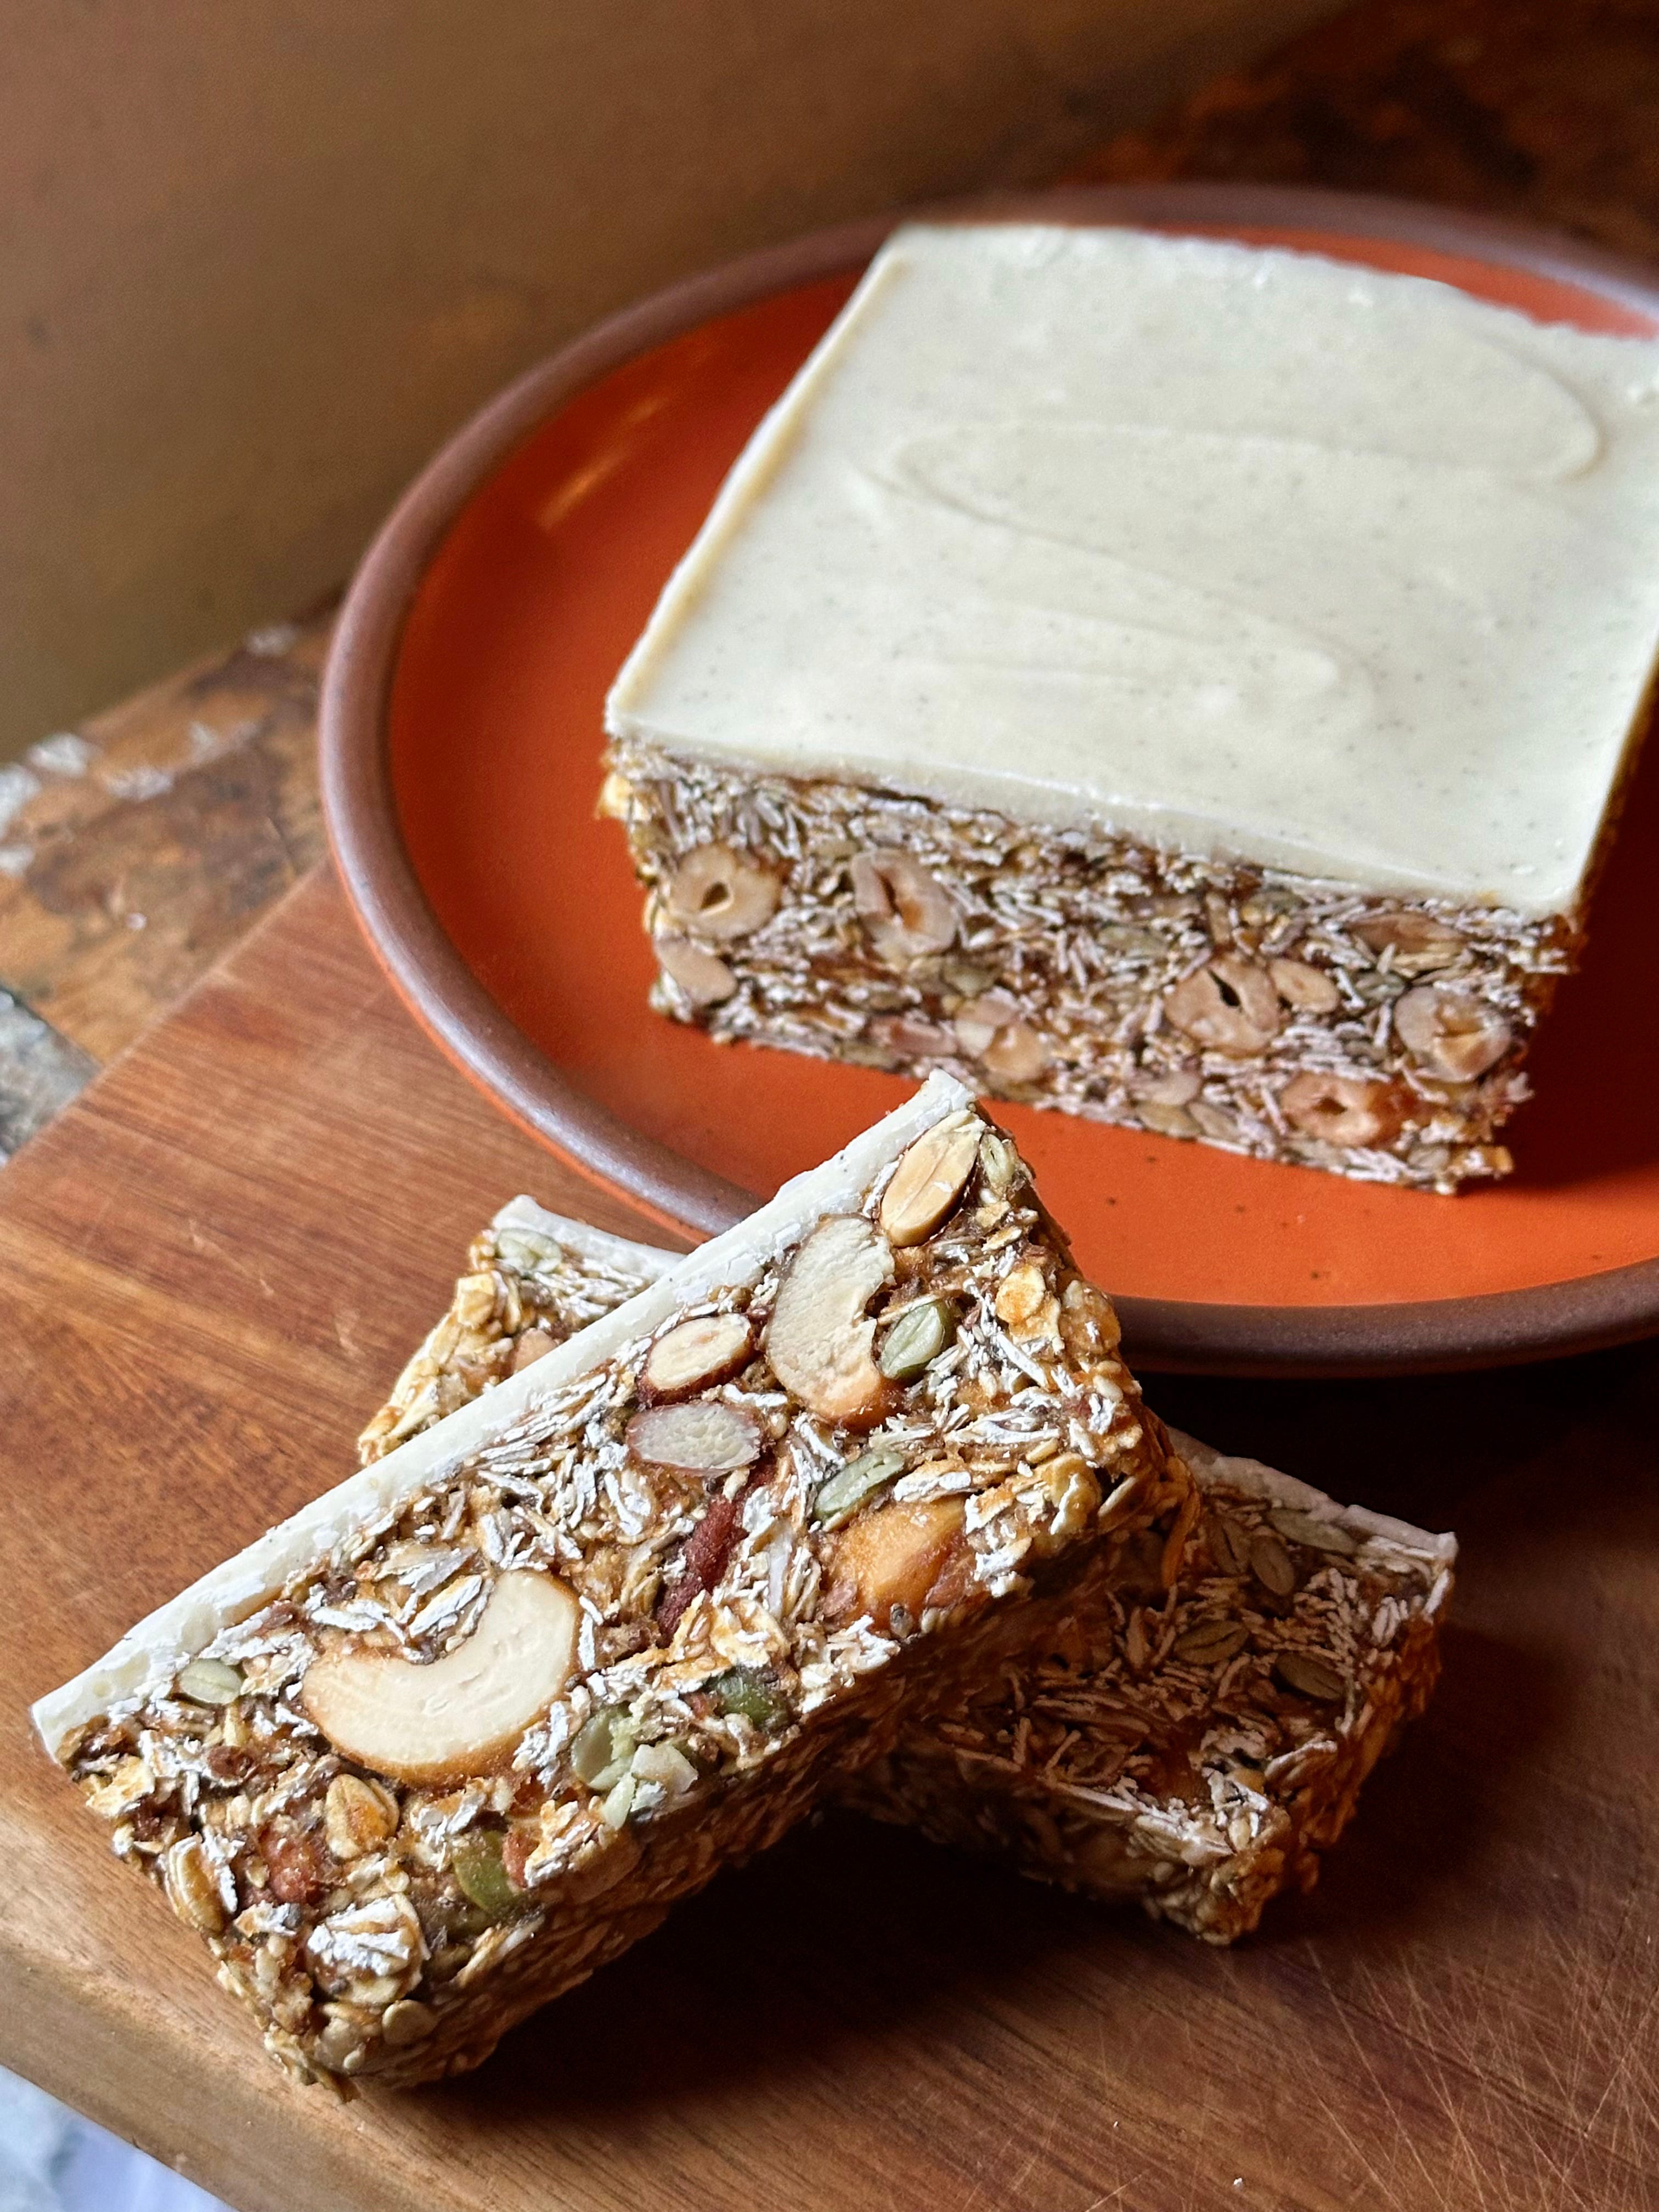
Nutty Espresso Date Bar with Salted White Chocolate
makes 12-16 slices depending on thickness
150g whole mixed nuts, unroasted and unsalted
100g mixed seeds (like pumpkin or sesame)
180g old fashioned rolled oats
30g unsweetened coconut flakes
24g chia seeds, flax seeds or a mixture of the two
285g dates, pitted
80g peanut butter
14g coconut oil, melted but not hot
1 teaspoon kosher salt
1/2 teaspoon espresso powder
Salted White Chocolate Shell
110g white chocolate
20g coconut oil
1 teaspoon vanilla paste or extract
1/2 teaspoon kosher salt
With a rack in the middle position, preheat the oven to 300F. Lightly grease and line an 8x4 inch loaf pan with parchment that overhangs by 2 inches on the two longest sides. Set the loaf pan aside
Spread the mixed nuts on a small sheet tray and toast for 15 minutes, stirring every 5 minutes. Add the seeds to the tray and return to the oven for 5 to 10 more minutes. Remove the tray and tilt the nuts and seeds into a large bowl.
Place the oats onto the sheet tray and toast for 15 minutes, stirring at the halfway point. Add the coconut flakes to the sheet tray and return to the oven for about 5 minutes, keeping a close eye so the coconut doesn’t burn. Remove from the oven and add the bowl of nuts and seeds. Stir the mixture occasionally to help cool it down. When cool to the touch, mix in the chia seeds and/or flaxseeds.
Slice or tear each date in half and add to a medium bowl (Be sure to check each one for the occasional left behind pit!) cover with freshly boiled water from a kettle or very hot water from the tap. Let sit for 10 minutes just to soften. Drain.
Add the softened dates, peanut butter, coconut oil, salt, and espresso powder to the bowl of a food processor. Process for 2 to 3 minutes until you have a thick paste-like mixture. Stop a few times to scrap down the inside of the bowl. The mixture should be mostly smooth with bits of dates here and there.
Pour the date mixture into the bowl of nuts. Stir together with a spatula and then move to clean hands if you wish. If the mixture feels too messy to handle, lightly greased hands will help keep the mixture from sticking. Knead the mixture in the bowl until there are no longer any dry pockets of oats or seeds. This can take a few minutes but is essential to hydrating the chia/flax seeds which will help bind the bars together.
When the mixture is full combined and uniform, place into the prepared loaf pan and use hands or an offset spatula to press down firmly to fill the corners and edges of the pan. If you own a second loaf pan of the same size, lay a greased piece of parchment on top of the mixture and press down firmly to compact the mixture. Once the loaf pan has been packed and the surface is smooth, place into the fridge to chill and firm up while you work on the topping.
To make the white chocolate shell - Fill a small pan with 1 inch of water and place over medium high heat. In a small glass or metal bowl, combine the white chocolate, coconut oil, vanilla paste/extract, and salt. Place the bowl over the small pan of water being sure the bowl doesn’t touch the hot water below. Use a spatula to stir until the mixture is melted and smooth.
Remove the pan from the fridge, spread the white chocolate shell evenly across the surface and return to chill completely, about one hour. When ready to serve, lift by the parchment flaps to remove from the pan and slice with a sharp knife. If the slices fall apart at the edges, just push them back together. The mixture is very malleable. Wrapped in plastic, the slices will keep for 2 to 3 weeks in the fridge.